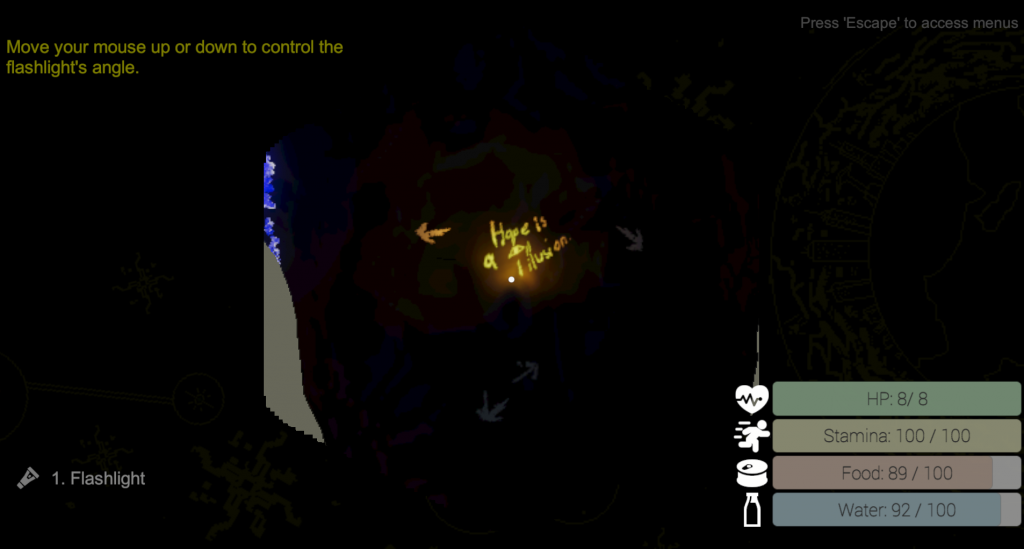
For this project, I was working under the time constraints of a 1-week Game Jam, so my goal was to make a quick environment with looping complexities of a cave without getting the player too stuck with dead ends being the smallest offshoots. I also wanted the map to be kind of large, so the player feels like they are lost but still have direction. I wanted players to feel like they’ve been wandering forever before eventually stumbling back to the main area, relief at the light, and a chance to recharge.
Map Creation Process
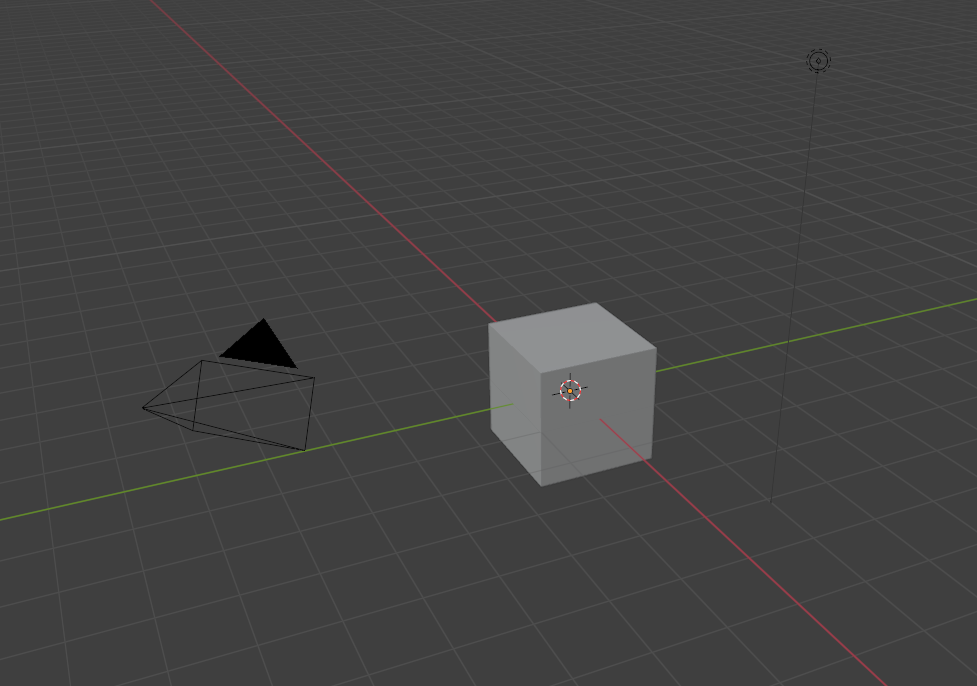
Step 1: Creating a scene.
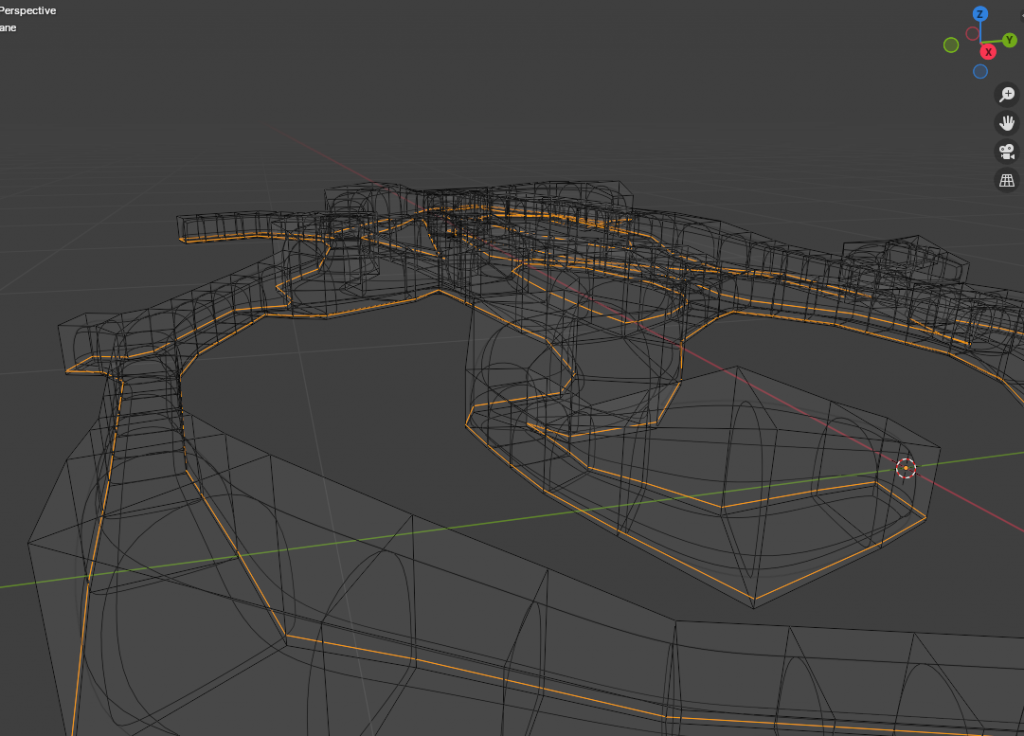
Step 2: Merge cube vertices and extrude to a cave shape that would work for with the game loop. I wanted it to be easily navigable and looping.
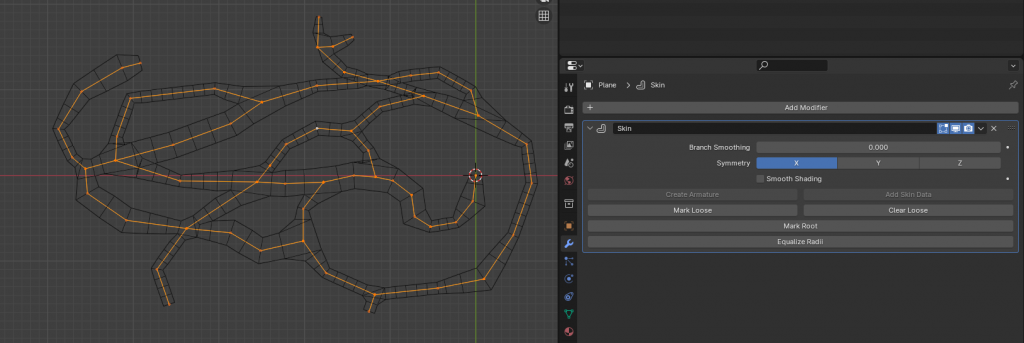
Step 3: Apply Skin modifier and scale vertices for passages that see more use or would have more enemies inside of them. Give the vertices height offset to mimic cave systems better.
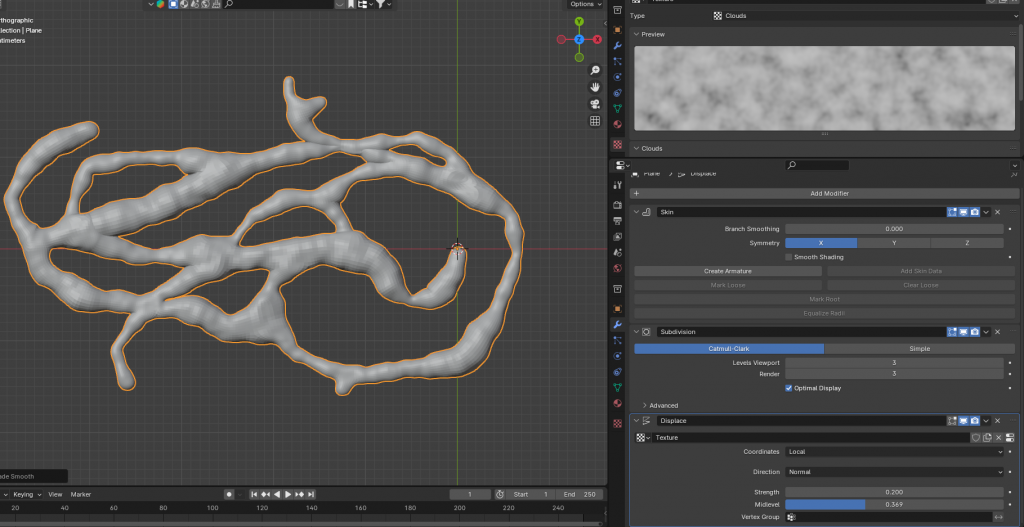
Step 4: Subsurface modifier to give more vertices to play with. And give the first noise displacement modifier to make it look more like a cave. We will be applying another noise to give it more depth, but we will be doing this in the normal maps to save vertex count in the end.
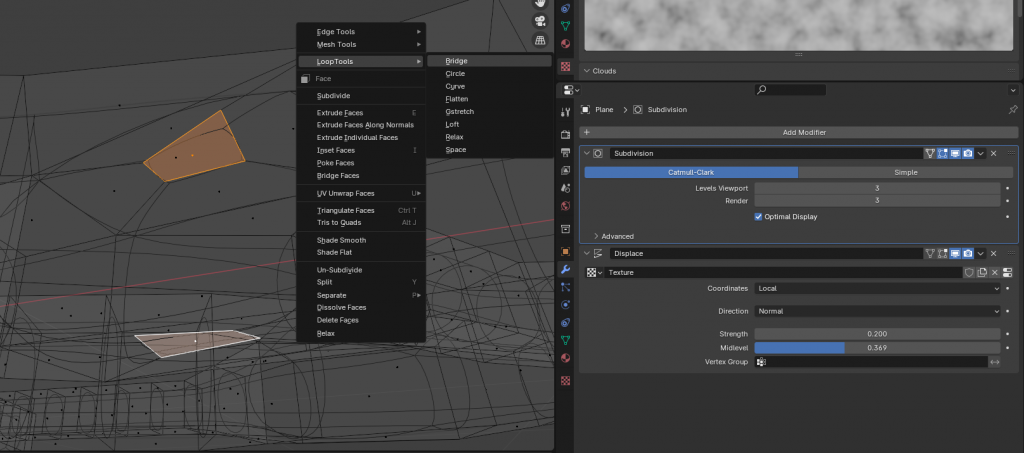
Step 5: To make stalagmites and stalactites, apply skin modifier and use loop tools for connected pillars or just extrude faces for other formations. Doing this before the subsurface will allow us to keep them smoothed and apply the cave bumpiness.
Step 6: Create loop cuts around the base of the mesh to make for a flatter cave floor. I also flipped my normals around now to make sure they were pointed towards the inside of the mesh.
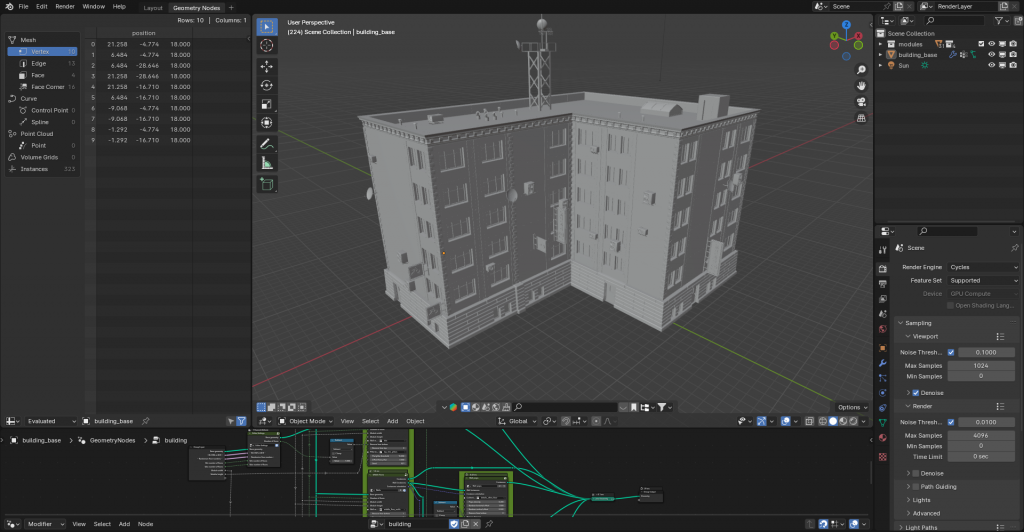
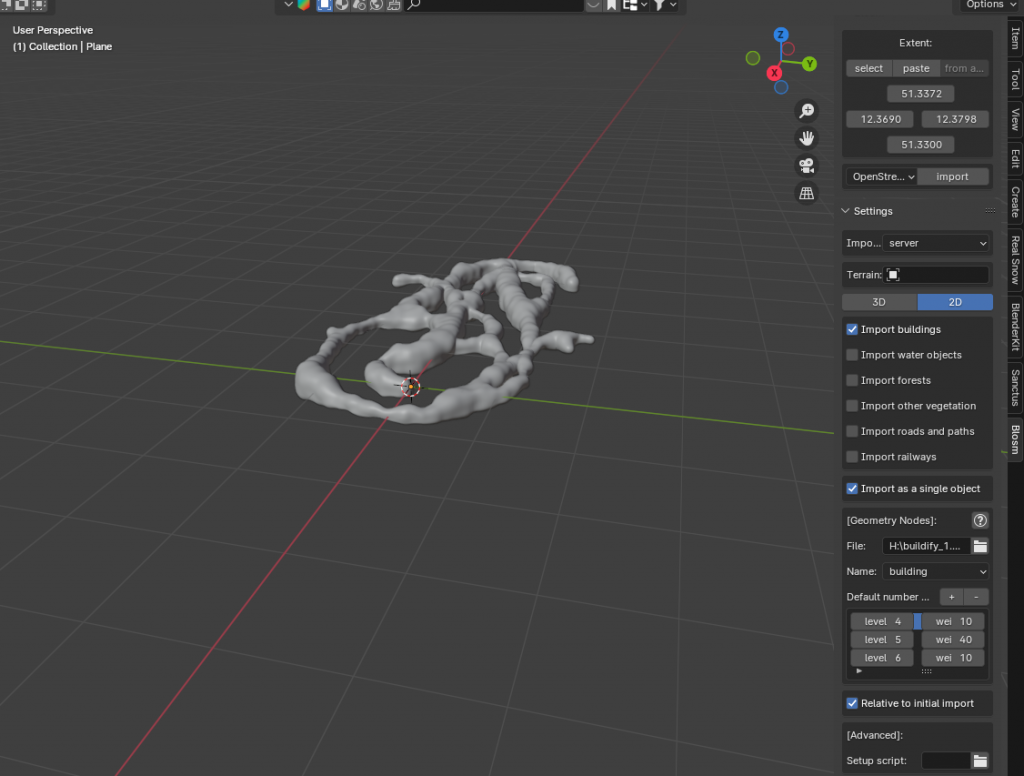
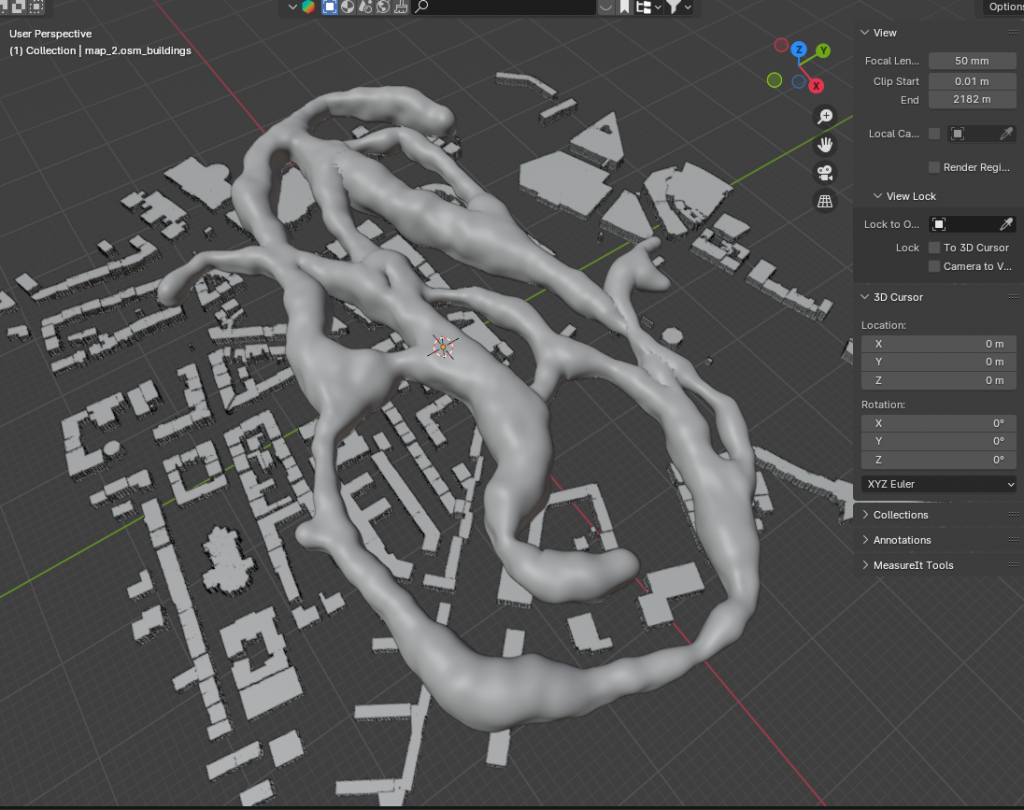
Step 7: I used Blendify in conjunction with Blender OSM(free) to generate buildings based on real city Google Maps data, which fit with the intended narrative. I just needed to clean up things like the signs and satellite dishes as they were extra details that didn’t make sense with my scene.
Step 8: Import Google Map information with nothing but buildings in with Buildify’s geometry nodes set up.
Step 9: Scale cave system and buildings to ideal size, make buildings submerged inside the cave, and adjust scale for NPC size.
Step 10: Delete extra buildings that fall outside of the cave system mesh.
And done! Other than texturing and tweaking the model and buildings to fit the game environment, it was easy to set up and a very fast method to get a playable environment for the game jam.
I then took a screenshot of the top-down view and decided where to place buildings, crystals, monsters, and the NPC. Then it was just a matter of setting up the NavMesh for Unity and decorating the environment with cave paintings and decals.


Leave a Reply